Wow. Just looking at these photos makes me realise how much had changed in 6 months! And it’s not quite finished yet [insert crying emoji here].


Both rooms were pretty much just fine as they were, you could easily just have given them a big scrub and used them. However, as we knew that we had a deadline, we decided to go for it, so out came the kitchen and off came the floors.
The kitchen was a super awkward space. There was a(nother) chimney breast in there (seriously, there is a chimney breast in nearly every room!), which just made fitting things in not great. We sort of planned the kitchen with it still there, but getting rid of it would have been ideal.
As my hubby and a few others suggested, we planned to knock down the wall between the kitchen and dining room to make it one room, as well as switching round the dining room window and the back door. After we’d had the damp proof course done (in hindsight, we should have co-ordinated this with the builders to avoid some of the damp proof stuff being pulled out to make way for a door), the builders arrived sometime in June to knock some stuff down.


…and out came that chimney breast! We suddenly had a much bigger space to work with. It was well exciting to come home from work each day and see what they’d managed to get done. I literally never met the builders, and despite horrendous communication from the main guy, they did a great job with everything. It took a little under 2 weeks, and they were gone as quickly as they arrived, everything plastered and ready to go. Just look at the lovely new window and door!

Despite the building work being finished, we hadn’t ordered our kitchen (and good thing too since it ended up looking different to what we’d imagined!), so that didn’t arrive until early August. Before we could fit it, we needed sort the mess that was the rest of the kitchen. It was just…ergh, gross. Wallpaper, tatty plastering, just all round disgusting. It took me a good few days and quite a lot of tears to pull it all back, but it was finally ready for plastering. That was an extremely exciting time seeing the walls get nice and smooth. Lots of excited jumping from me and I nearly cried happy tears!

This is after I had attacked it with a steamer and a scraper for days. What was demoralising was that it looked far worse now all the wallpaper was off…! But it had to get worse before it got better..
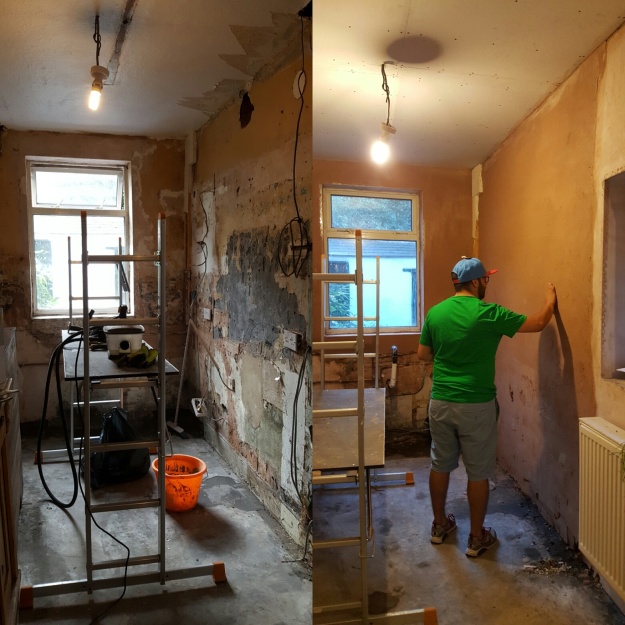
Ahhhhh! This before and after is a happy moment. And this isn’t even the finished plastering! Our wonderful plasterer (a guy called Abdul from Afghanistan) did the ceiling for us as well before smoothing all the walls with bonding then skimming them (which is what happened after this photo). Ohh man, just looking back makes me all the more grateful for how far it’s come!
As you can see though, we were still without an actual kitchen. This was…mid-August? We moved in at the end of May. Praise God for our wonderful family (both biological and church family!) who kept us fed and clean (we did have a shower by this point, but only just!) during that time.
And suddenly, it feels like it’s all happened rather fast. August bank holiday, my hubby and his Dad fitted the kitchen units and worktop…


…and in went the appliances a few weeks later…


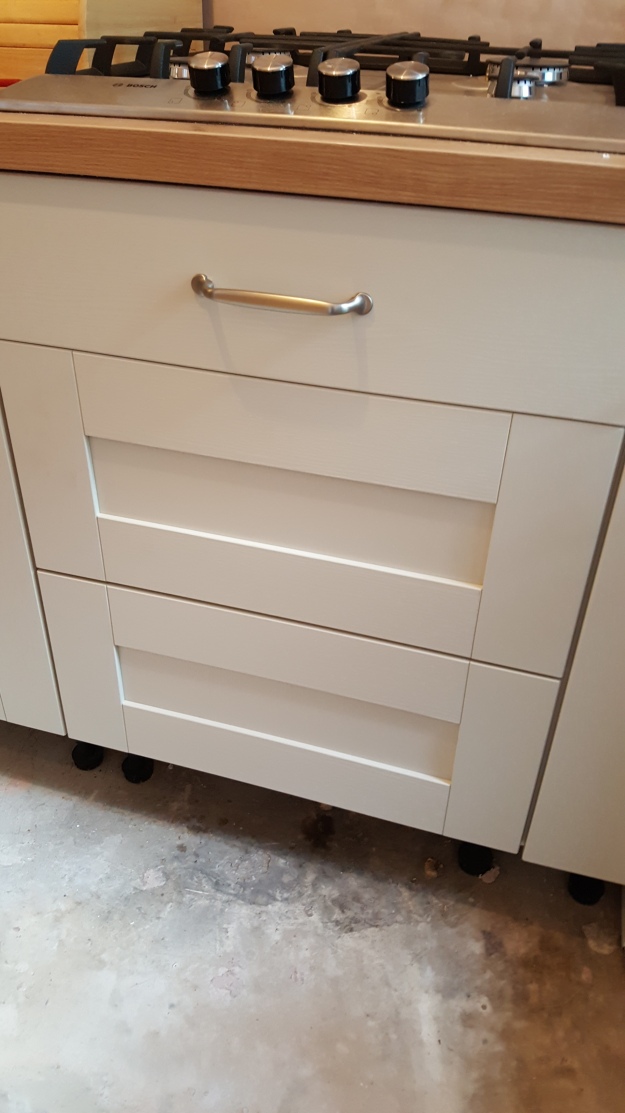
…followed by the drawers and all the door handles. These were tricky, no Ikea job – but we made it in the end! And they don’t look too shabby if I may say so myself 🙂
Not long after, in was down with the floor (easy peasy lino), put the plinths in and suddenly…we had a nearly finished kitchen!


…ta-da! Tiling has happened and today will be the final coat of paint…I can hardly believe that it’s actually nearly finished for actual real. There will be bits and bobs to sort, gaps to cover and things, but we can use it – cooking, washing, a real, working kitchen..how awesome is that?!
As for dining room…that’s still a work in progress. We stripped off all the wallpaper, filled in a million holes (should just have got it skimmed but hey ho), and painted it with about 20 coats of paint. I exaggerate, but there are at least 5 coats, I’d say. Another hindsight moment – if you don’t want the faff of plastering and drying (and haven’t got the budget for about £300 per room to plaster…!) cover the walls with lining paper and then paint it – this protects the plaster and creates a smooth finish. We totally should have done this just about everywhere. Ah well, you live and learn 😉